Firebase Functions - onCreate() and onDelete()
I wanted share my experiences of Google's Firebase for research. Firebase is a Backend-as-a-Service — BaaS — which enables developers to focus crafting user experiences and the front-end. You don't need to manage any servers. You don't need to write any APIs (or handle them). Firebase does it all for you.
Firebase is the server, the API and the datastore (data and file store) all managed via a simple, easy to use interface. It is a platform that is suitable for most needs, more advanced needs would use Google Cloud Platform. This makes Firebase great as a research tool.
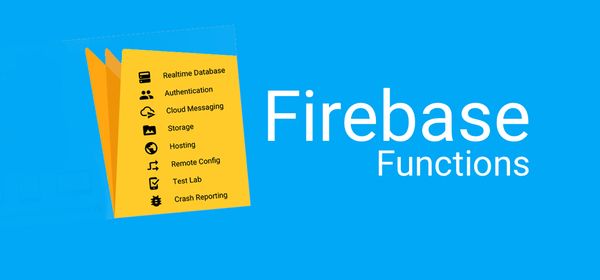
Firebase Functions
I will assume that if you have discovered this blog post that you're aware of Firebase, what you may not be aware of are Firebase Functions. I will not discuss the cost of operating and executing these functions but it is important to be aware of them. These sit on the backend (inside Firebase) and listen for specific events and perform specific actions. For example:
- Send a notification with a coupon code or voucher to users who have just completed a purchase
- Send a survey request to users after they upgrade their app
- Send an email to welcome new users immediately after they sign up
- Clean up user associated data from your Realtime Database when a user account is deleted
- Resize and convert images when a new image has been uploaded to your Cloud Storage bucket.
You can read more about Firebase Functions here.
Firebase Functions Set-up
To set up our firebase functions, we need to first make sure we have the Firebase CLI installed, so open your terminal preferred command terminal and type:
$ npm install -g firebase-tools
You may need to use sudo if running this on a Mac.
Now log into your Firebase console through the CLI:
$ firebase login
It will ask you to login to Firebase (via command line), so make sure you have your details to hand. It will open a browser window to log in. Head to the project you already have defined. type into the terminal
$ firebase init functions
It will prompt you to choose an application from your Firebase Console to work with after you choose the application, it will ask you if you want to install the necessary node packages, choose yes. It will then create a functions folder for that project. We create the functions locally and then push them to Firebase for use.
In the newly created functions folder you should see a file called index.js, this file is vital for firebase functions.
Create a user profile (auth.user().onCreate())
Here, I describe how you listen to an authentication event and create a user profile using Firebase functions. Let's get started, import the required elements:
const functions = require('firebase-functions');

const admin = require('firebase-admin');
admin.initializeApp(functions.config().firebase);
This defines the requirement elements. To detect a new user (account creation) we define the following function:
exports.createProfile = functions.auth.user().onCreate( event => {
  return admin.database().ref(`/user/${event.data.uid}`).set({
    email: event.data.email,
    emailUpdates: true
  });
});
Firebase retains all the user authentication details separately from your own datasets. It is not possible to access most of this information. However, you can pull data such as email and store it within your own datastore. In this example, we push the users email to a user data store. Every time a new user joins the service, a new record based on their uid is created.
Delete a user profile (auth.user().onDelete())
Sometimes users want to delete their account. Firebase makes it really simple by listening out for the onDelete() event.
const functions = require('firebase-functions');

const admin = require('firebase-admin');
admin.initializeApp(functions.config().firebase);

exports.deleteProfile = functions.auth.user().onDelete( event => {
  return admin.database().ref(`/user/${event.data.uid}`).remove();
});
Upon a user’s request to delete their account it automatically looks for the users record in the datastore and removes it. Simple, right! Firebase function calls are all formed in a similar way.
Post to Firebase
To deploy the functions, open your terminal, you should be inside the and run the deploy command:
$ firebase deploy --only functions
Watch the terminal, it will let you know if there are any errors while deploying the function, once it gives you the all clear try creating a new user account or delete a current one, then go to your Firebase Console and you’ll see the database has that node created or removed.
It is important to be aware that you always need to return a Promise when running a Firebase Functions, return admin.database().ref().set(); returns a Firebase Promise.When you return a Promise, the function won’t crash or won’t finish until that promise is either resolved or rejected!
And that is how you listen for new authentications and requests for account deletion.